Securing Blazor 8.x Web Apps Using Microsoft Identity Platform
Implementing authentication and authorisation is always a bit of a headache. There’s always those edge cases you forget about when doing it yourself. It’s smarter to let a third-party service handle Identity and Access Management stuff. Azure’s got you covered with Microsoft Entra ID (you might know it as Azure AD).
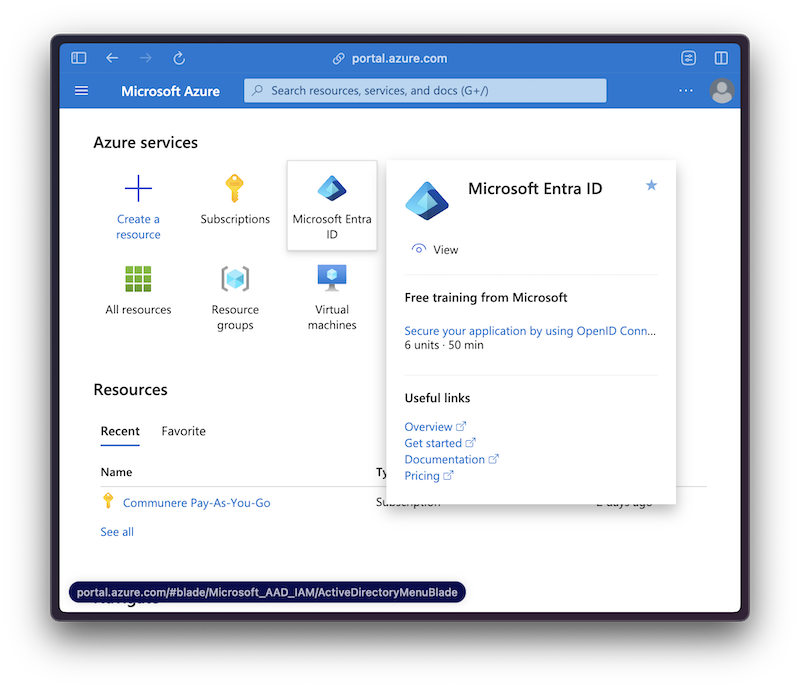
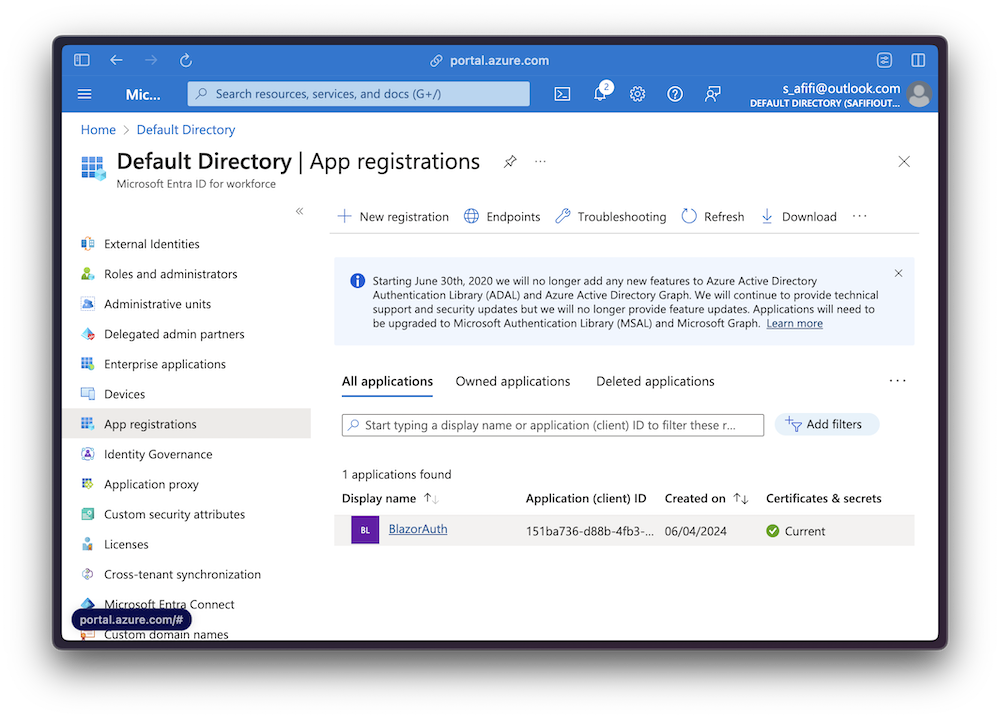
To get started with Microsoft Entra ID, you’ll need to register your app with a Microsoft Entra tenant. This is just setting up your app so it can play nice with Microsoft Entra ID. Registering gets you a unique app object and service principal for your tenant, plus a unique app ID. The Azure portal lets you setup up your app with secrets or certificates, tweak the branding on your sign-in dialog, and a bunch of other stuff to make your app secure and slick.
Now that your app is registered, you can start integrating Microsoft Entra ID into your Blazor app. To do this, you’ll need to install some NuGet packages. These packages have a bunch of useful stuff for integrating Microsoft Entra ID into your app:
<Project Sdk="Microsoft.NET.Sdk.Web">
    <PropertyGroup>
        <TargetFramework>net8.0</TargetFramework>
        <Nullable>enable</Nullable>
        <ImplicitUsings>enable</ImplicitUsings>
    </PropertyGroup>
    <ItemGroup>
      <PackageReference Include="Microsoft.Identity.Web" Version="2.17.4" />
      <PackageReference Include="Microsoft.Identity.Web.UI" Version="2.17.4" />
    </ItemGroup>
</Project>
Next, you’ll need to configure your app to use Microsoft Entra ID. Go to your Program.cs file and add the following code:
using BlazorAuth.Components;
using Microsoft.AspNetCore.Authentication.OpenIdConnect;
using Microsoft.Identity.Web;
using Microsoft.Identity.Web.UI;

var builder = WebApplication.CreateBuilder(args);

+builder.Services.AddCascadingAuthenticationState();
+builder.Services.AddHttpContextAccessor();

+builder.Services.AddAuthentication(OpenIdConnectDefaults.AuthenticationScheme)
+    .AddMicrosoftIdentityWebApp(builder.Configuration.GetSection("AzureAd"));
+builder.Services.AddControllersWithViews()
+    .AddMicrosoftIdentityUI();

+builder.Services.AddAuthorization(options =>
+{
+    options.FallbackPolicy = options.DefaultPolicy;
+});

builder.Services.AddRazorComponents()
    .AddInteractiveServerComponents()
+    .AddMicrosoftIdentityConsentHandler();

var app = builder.Build();

if (!app.Environment.IsDevelopment())
{
    app.UseExceptionHandler("/Error", createScopeForErrors: true);
    app.UseHsts();
}

app.UseHttpsRedirection();

app.UseStaticFiles();
app.UseAntiforgery();

+app.MapControllers();

app.MapRazorComponents<App>()
    .AddInteractiveServerRenderMode();

app.Run();
Next, we need to configure the app to use Microsoft Entra ID. Go to your appsettings.json file and add the following code:
{
  "AzureAd": {
    "Instance": "https://login.microsoftonline.com/",
    "Domain": "your-tenant-name.onmicrosoft.com",
    "TenantId": "your-tenant-id",
    "ClientId": "your-client-id",
    "CallbackPath": "/signin-oidc"
  }
}
These values are specific to your app and tenant. You can find them in the Azure portal under your app’s settings:
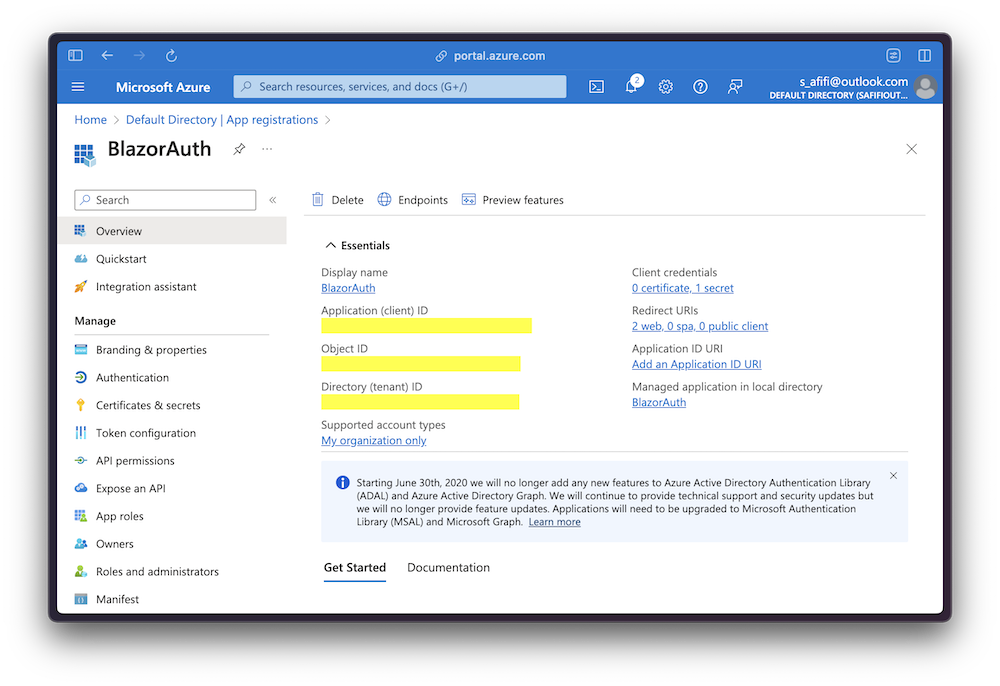
PS: The project is a Blazor Web App template I created using the dotnet new blazor --name BlazorAuth command.
Now, we should be able to decorate our components with the [Authorize] attribute to secure them. This attribute ensures that only authenticated users can access the component. If a user isn’t authenticated, they’ll be redirected to the Microsoft Entra ID sign-in page.
@page "/"

@attribute [Authorize]

<PageTitle>Home</PageTitle>

<h1>Hello, world!</h1>
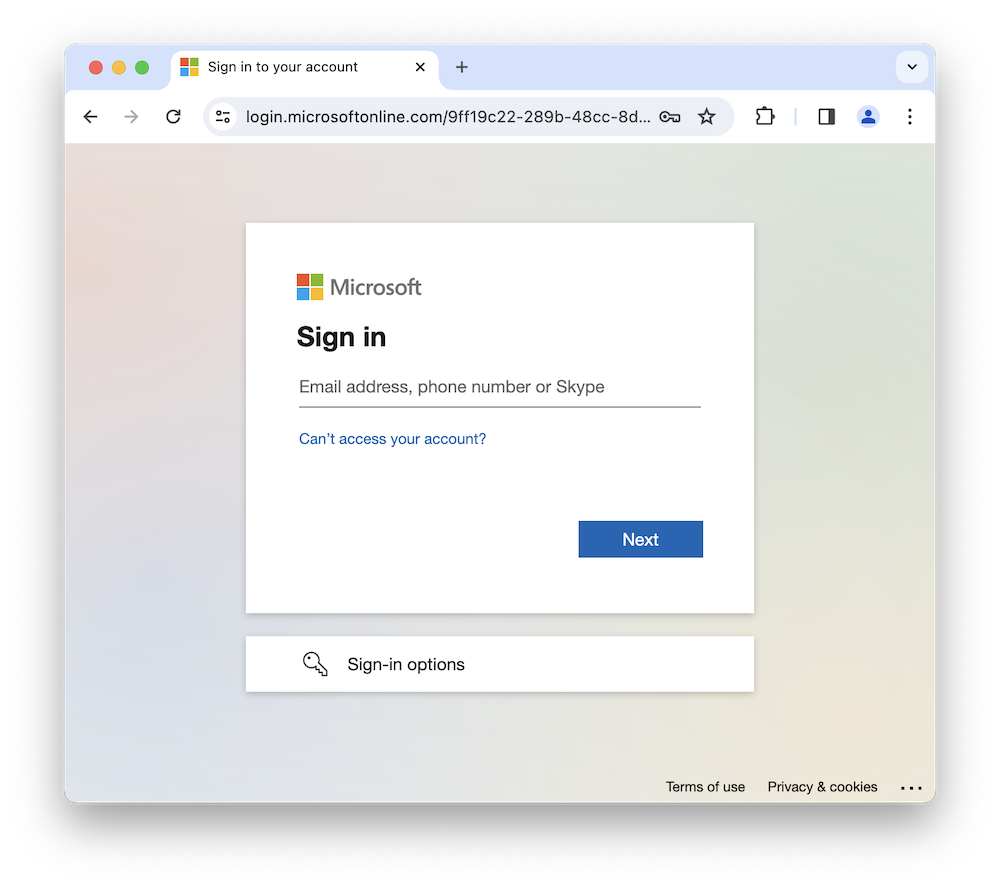
Now, if you run your app, you should see the Microsoft Entra ID sign-in page when you navigate to the home page:
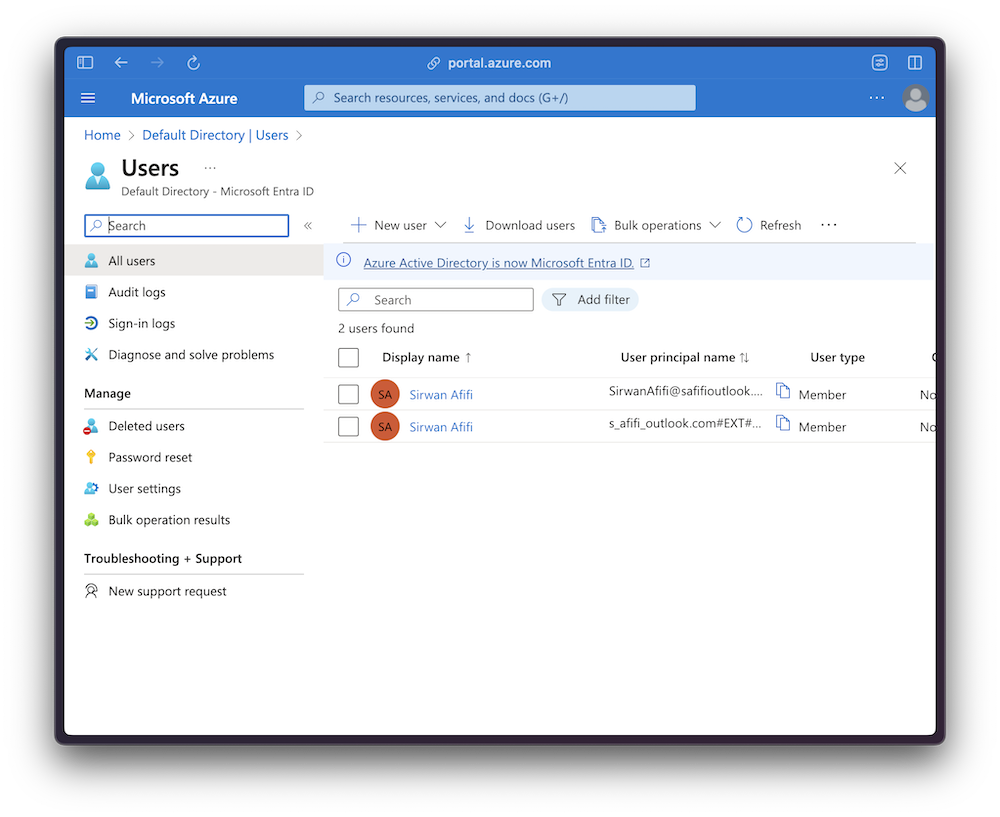
To create a user account, you can use the Microsoft Entra ID portal. This portal lets you create users, groups, and roles, and assign them to your app:
Once you’ve created a user account, you can go back to your app and sign in with the user account you created. You should now be able to access the home page.
To logout user, you can put a link in your NavMenu.razor component:
<AuthorizeView>
    <Authorized>
        <a href="MicrosoftIdentity/Account/SignOut">Logout</a>
    </Authorized>
</AuthorizeView>
For accessing user’s information, you can use AuthenticationStateProvider:
@page "/"
@rendermode InteractiveServer
@using System.Security.Claims
@using Microsoft.AspNetCore.Components.Authorization
@inject AuthenticationStateProvider AuthenticationStateProvider

<h1>ClaimsPrincipal Data</h1>

<button @onclick="GetClaimsPrincipalData">Get ClaimsPrincipal Data</button>

<p>@_authMessage</p>

@if (_claims.Any())
{
    <ul>
        @foreach (var claim in _claims)
        {
            <li>@claim.Type: @claim.Value</li>
        }
    </ul>
}

<p>@_surname</p>

@code {
    private string? _authMessage;
    private string? _surname;
    private IEnumerable<Claim> _claims = Enumerable.Empty<Claim>();

    private async Task GetClaimsPrincipalData()
    {
        var authState = await AuthenticationStateProvider
            .GetAuthenticationStateAsync();
        var user = authState.User;

        if (user.Identity is not null && user.Identity.IsAuthenticated)
        {
            _authMessage = $"{user.Identity.Name} is authenticated.";
            _claims = user.Claims;
            _surname = user.FindFirst(c => c.Type == ClaimTypes.Surname)?.Value;
        }
        else
        {
            _authMessage = "The user is NOT authenticated.";
        }
    }
}
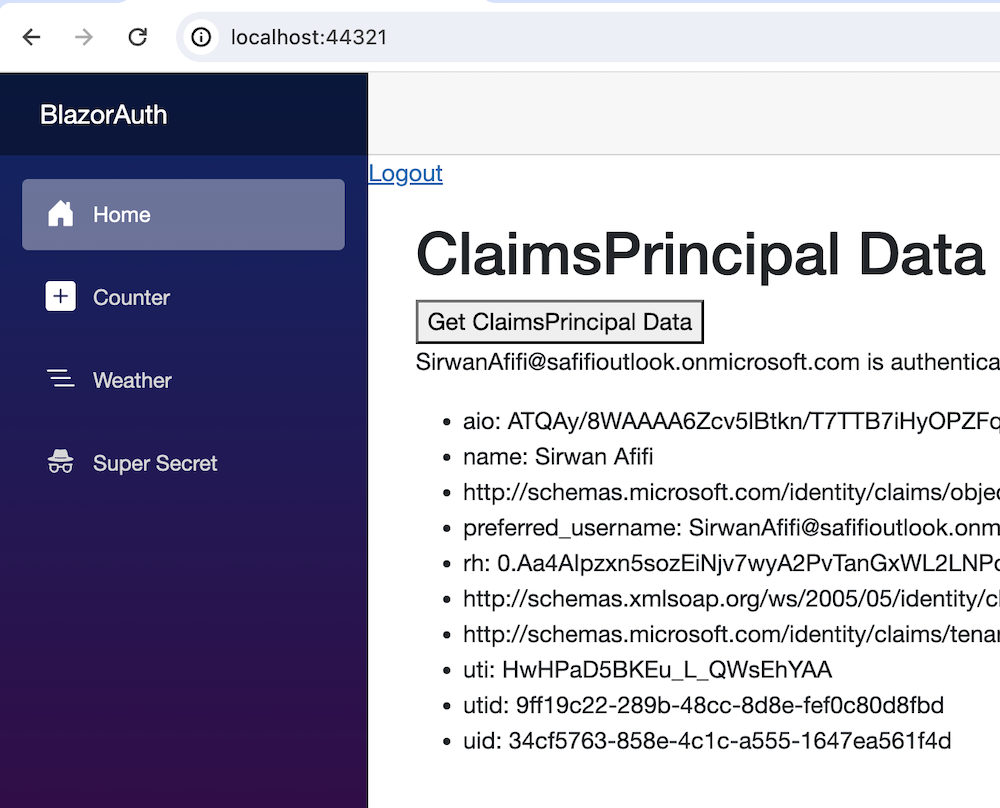
This code will display the user’s claims and surname when the button is clicked:
Microsoft Graph
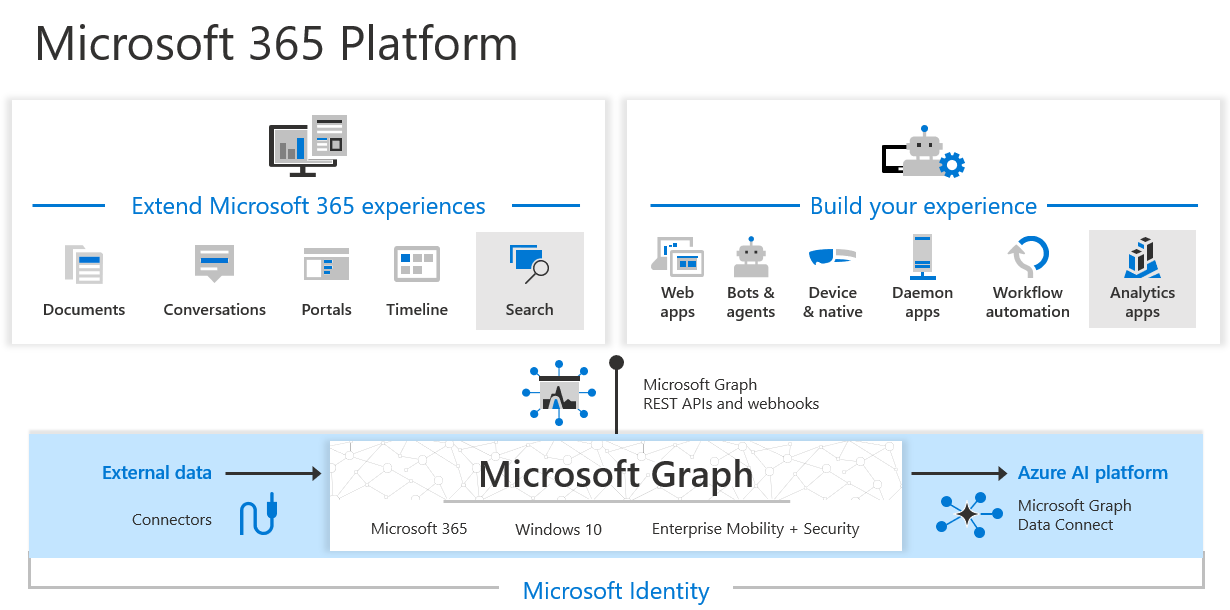
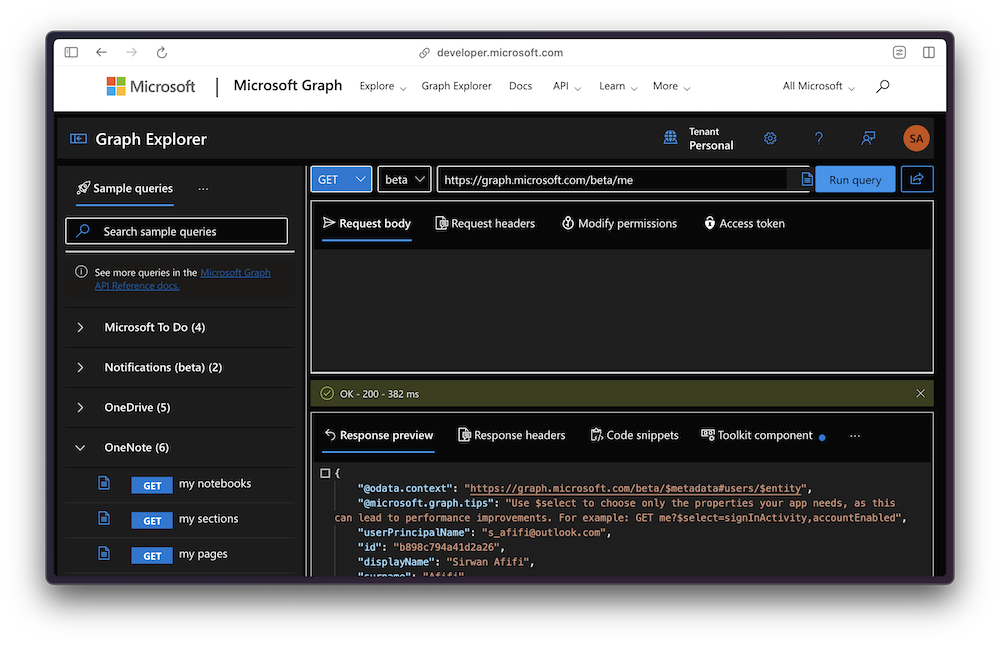
An easier way to access this information, and more, is to use Microsoft Graph, which is the gateway to data and intelligence in Microsoft 365. The programming model is much like GraphQL, with a single endpoint to access all the data you need. You can explore its capabilities using the Graph Explorer:
However, to use it via code, you must have an Office 365 subscription. To integrate Microsoft Graph into your Blazor app, you’ll need to install the Microsoft.Identity.Web.GraphServiceClient NuGet package.
<Project Sdk="Microsoft.NET.Sdk.Web">
    <PropertyGroup>
        <TargetFramework>net8.0</TargetFramework>
        <Nullable>enable</Nullable>
        <ImplicitUsings>enable</ImplicitUsings>
    </PropertyGroup>
    <ItemGroup>
      <PackageReference Include="Microsoft.Identity.Web" Version="2.17.4" />
+     <PackageReference Include="Microsoft.Identity.Web.GraphServiceClient" Version="2.17.4" />
      <PackageReference Include="Microsoft.Identity.Web.UI" Version="2.17.4" />
    </ItemGroup>
</Project>
Next, you’ll need to configure your app to use Microsoft Graph. Go to your appsettings.json file and add the following code:
{
  "AzureAd": {
    "Instance": "https://login.microsoftonline.com/",
    "Domain": "your-tenant-name.onmicrosoft.com",
    "TenantId": "your-tenant-id",
    "ClientId": "your-client-id",
    "CallbackPath": "/signin-oidc"
  },
  "Graph": {
    "BaseUrl": "https://graph.microsoft.com/v1.0",
    "Scopes": "User.Read"
  }
}
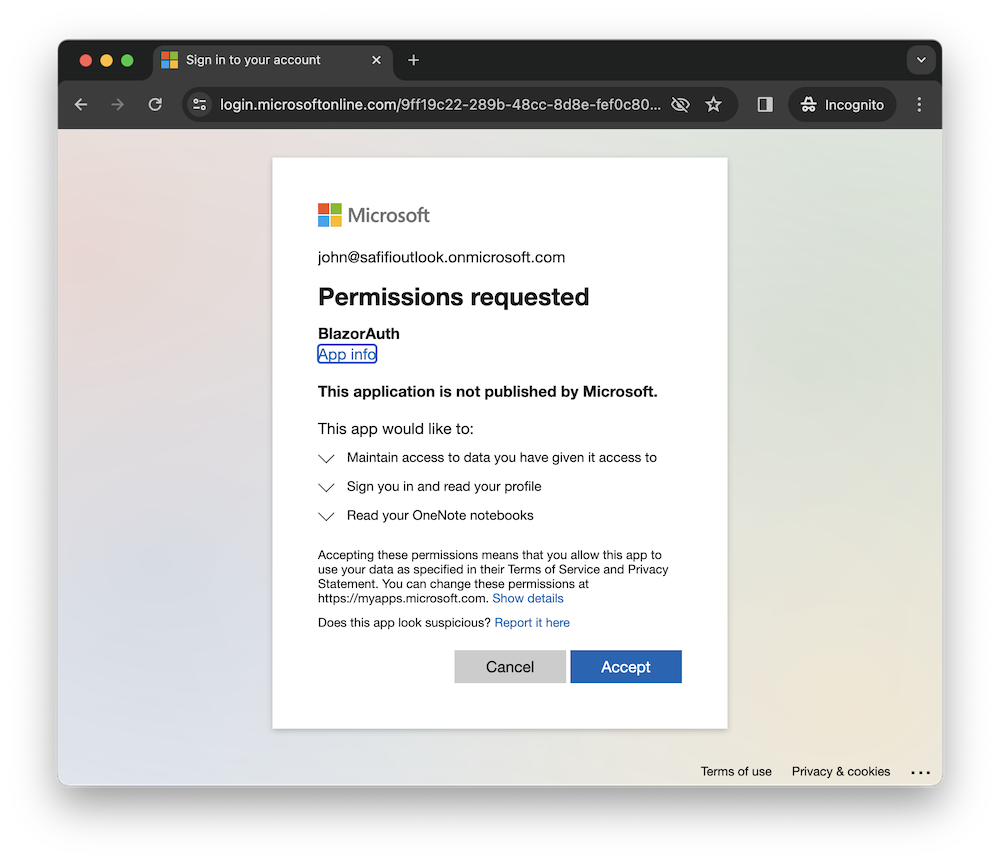
As you can see in the code above, we’re using the User.Read scope to read the user’s profile information. For instance to read a user’s notes (OneNote), you can use the Notes.Read scope. So when the user first uses the application, they will be prompted to approve this request. If they consent, the application is granted a token that authorises it to access the user’s notes:
Next we need to configure the app to use Microsoft Graph. Go to your Program.cs file and add the following code:
var builder = WebApplication.CreateBuilder(args);
+ var initialScopes = builder.Configuration["DownstreamApi:Scopes"]?.Split(' ');

builder.Services.AddCascadingAuthenticationState();
builder.Services.AddHttpContextAccessor();

builder.Services.AddAuthentication(OpenIdConnectDefaults.AuthenticationScheme)
    .AddMicrosoftIdentityWebApp(builder.Configuration.GetSection("AzureAd"))
+    .EnableTokenAcquisitionToCallDownstreamApi(initialScopes)
+    .AddMicrosoftGraph(builder.Configuration.GetSection("DownstreamApi"))
+    .AddInMemoryTokenCaches();;

// as before
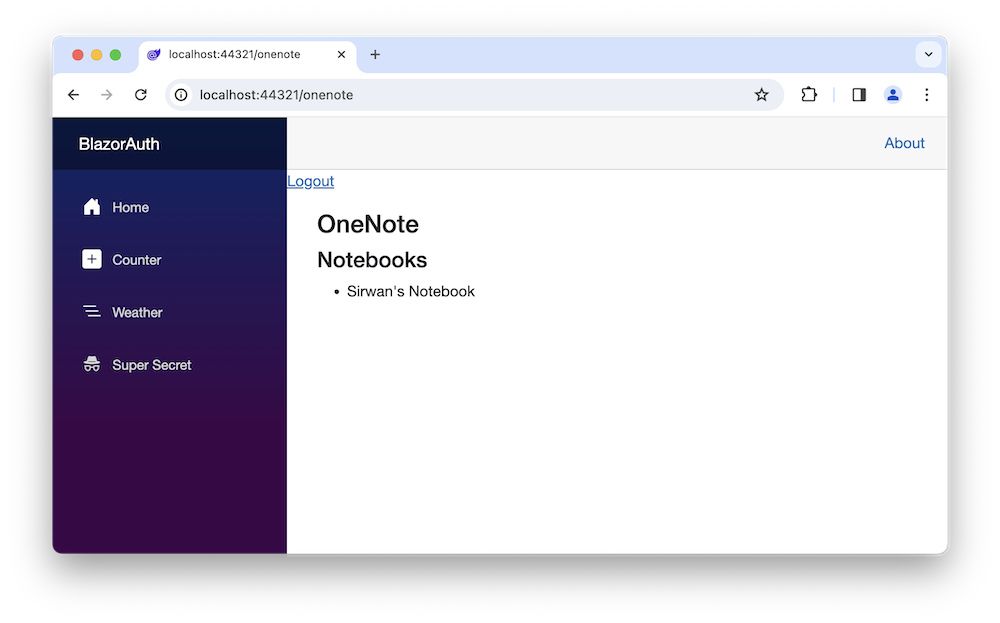
Now, we should be able to access the user’s notes using Microsoft Graph:
@page "/OneNote"
@using Microsoft.Identity.Web
@using Microsoft.Graph.Models
@inject Microsoft.Graph.GraphServiceClient GraphServiceClient
@inject MicrosoftIdentityConsentAndConditionalAccessHandler ConsentHandler

<h3>OneNote</h3>

@if (notebooks != null)
{
    <h4>Notebooks</h4>
    <ul>
        @foreach (var notebook in notebooks.Value)
        {
            <li>@notebook.DisplayName</li>
        }
    </ul>
}

@code {
    NotebookCollectionResponse? notebooks;

    protected override async Task OnInitializedAsync()
    {
        try
        {
            notebooks = await GraphServiceClient.Me.Onenote.Notebooks.GetAsync();
        }
        catch (Exception ex)
        {
            ConsentHandler.HandleException(ex);
        }
    }
}